Tech Talk: DHCP WebBox Configuration
Customers with older models of the Sunny WebBox are likely operating the device in a static IP mode. Though nothing is wrong with using a static IP, should configurations within the network be changed, the WebBox could experience a temporary loss in ability to communicate with Sunny Portal.
The most common situation that would require changing a WebBox from static IP to DHCP would be replacing a router. While most routers are reliable, improving technology has led to a steady increase in homeowners upgrading existing equipment in favor of the latest and greatest.

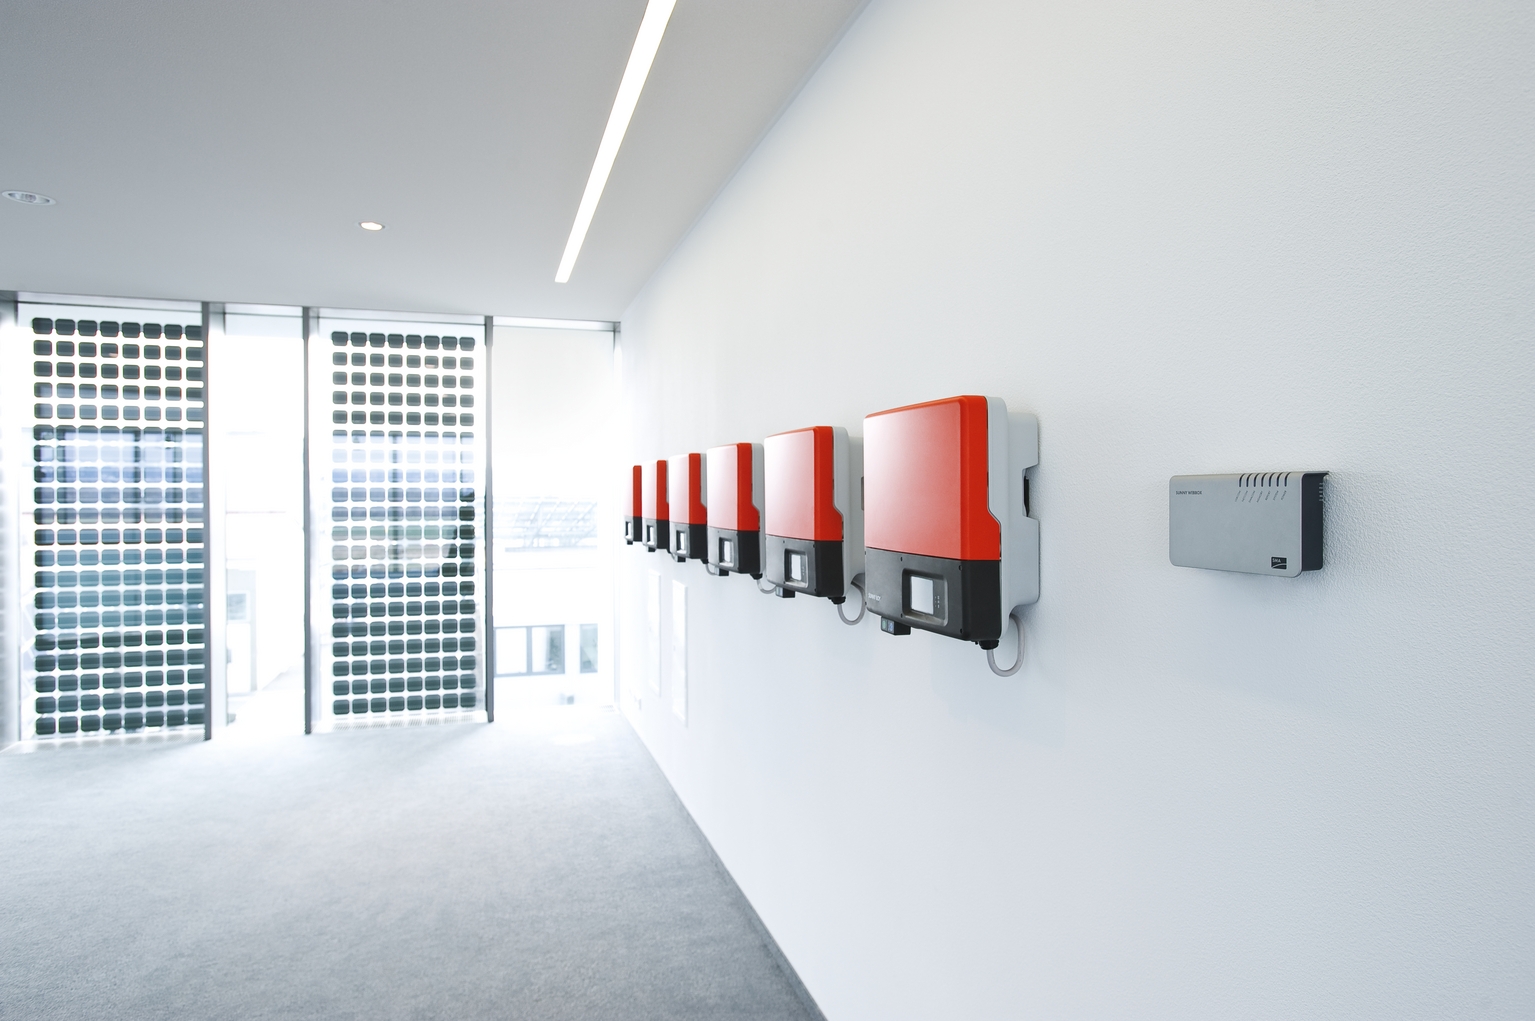
The SMA Sunny WebBox.
Getting started
The first step involves finding and writing down your existing local area network settings. Depending on the operating system, obtaining this information will be different. However, it’s typically located with the network configuration, where Wi-Fi settings are also located.
Write down the following (if given the option between IP4 and IP6, choose IP4):
- IP Address
- Subnet Mask
- Default Gateway
- DNS Server (if multiple are listed, only use the first one)
Discovering the WebBox IP
Before disconnecting the existing router, providing it’s still functional, use Sunny Portal to access the WebBox by logging in, clicking on the Webbox on the right column and clicking parameters. Scroll down to view the existing WebBox IP, labeled NetworkSettings_IpAddr.
If the existing router is not functional, an SD card can be used with the WebBox to download the configuration profile, which will include the IP address.
Setting DCHP
Once you have the WebBox IP, use the blue crossover cable provided with the WebBox to plug directly into the PC and ensure the power supply is plugged in and the WebBox’s Power, System and Report lights are solid green. Then return to the computer’s network settings and double-click the option for Internet Protocol Version 4 (TCP/IPv4).
Click the option to manually enter an IP address and enter the IP address used by the WebBox as seen in Sunny Portal with the last set of three numbers as 100. The Subnet Mast field should auto-populate, but if not, enter 255.255.255.0 and click OK for the current window and then the network connection properties window.
Open an Internet browser window and in the URL field, enter the WebBox IP address; this will direct you to the login screen for the WebBox. For users who haven’t changed the password since initial commissioning, the default is “sma.”
Once logged into the WebBox, click on the WebBox tab in the upper-right, then the Network tab just below it. The first option in this window will show the WebBox set to Static; change this to Dynamic and click “save” at the bottom of the page. Click “confirm” in the pop-up window and wait for a second pop-up window to indicate the WebBox is changing its network settings. Once this appears, close the browser completely.
Re-commissioning
Once the parameter has been changed to DHCP, it is safe to connect the WebBox to the local network using the patch cable provided or your own network cable. From the PC, return to the network connections window and click properties.
Double-click the option for Internet Protocol Version 4 (TCP/IPv4), the same as before, and enable the computer to obtain IP addresses automatically. Click “OK” to effectively reverse the steps we took to gain access to the WebBox, now that it is functioning on its own. Open an Internet browser and make sure you have access again.
Production data
The WebBox should begin communicating again within a few hours, or up to one day in some cases. Should these steps not work, it might be necessary to configure the WebBox manually. Full directions are in a quick-start guide available by contacting the SMA Service Line.
Any production data occurring while the WebBox is down for the reconfiguration will be lost, so if consistent data is critical, it may be best to do this at night.
Once the WebBox is up and running in DHCP mode, any future network changes should not interrupt the WebBox, ensuring smooth data logging and system monitoring.


Hello! You are concerned about the city of Kapshagai from the solar power station in Kazakhstan. We currently have a problem with sunny webbox, the problem is that we can not go to the sunny webbox itself, because one of our employees changed the password and forgot it. Tell me please what we can do in this situation, that would go to sunny webbox. Thank you in advance!