SMA Extends Smart Connected Registration Window to Two Years!

In response to strong customer enrollment, SMA has extended the window for customers to enroll their Sunny Portal plants into SMA’s groundbreaking FREE service support program, Smart Connected.
SMA Smart Connected provides behind-the-scenes, proactive service troubleshooting support and the ability to proactively ship RMA units. This streamlines business operations and increases the profitability of service support activity by reducing truck rolls up to 50%.
Enrolling in Smart Connected is easy for plants that have, in the last two years, registered on either the classic Sunny Portal or Sunny Portal powered by ennexOS. For either portal, address and email information for the Operator and Installer needs to be entered, and a shipping address and notification emails selected. If desired, Installer information can be duplicated in the Operator fields.
For the classic Sunny Portal, once the plant to be enrolled has been selected, choose PV System Monitoring from the main menu, then select Settings” at the top right of the SMA Smart Connected section of the screen (Fig 1a). Scroll to the bottom of the Smart Connected section in the screen that appears and select Edit (Fig 1b), then Select the check box next to SMA Smart Connected (Fig 1c). Enter all required Installer and Operator Data, select a shipping address and email addresses for notifications. Click Save at the bottom right of the screen when done (Fig 1d). You will see confirmation that Smart Connected has been activated (Fig 1e)!
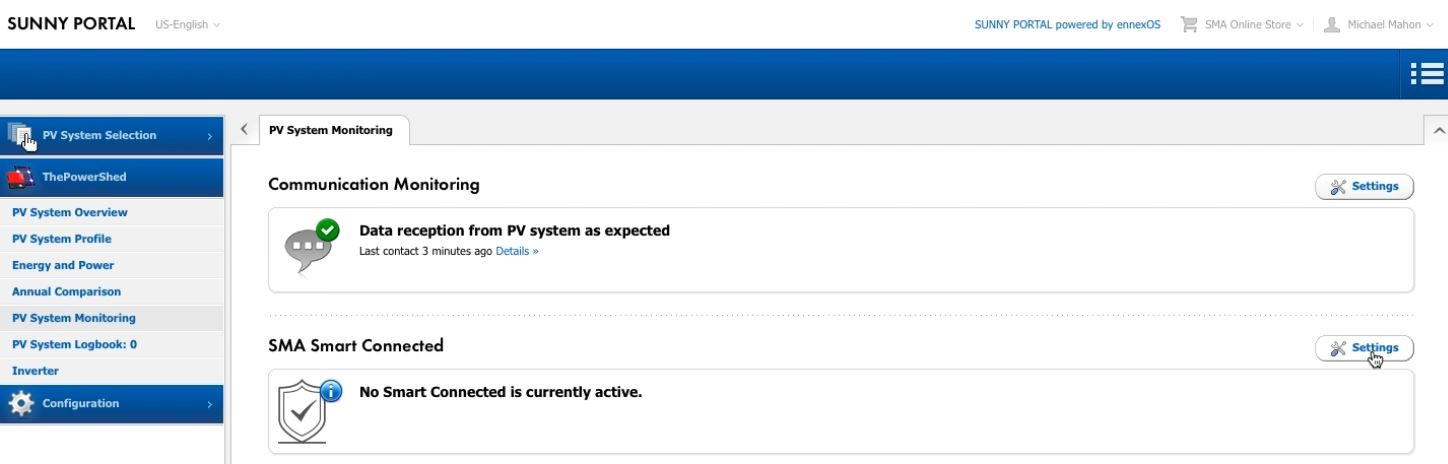
Fig 1a. Under PV System Monitoring, select Settings for SMA Smart Connected to begin.
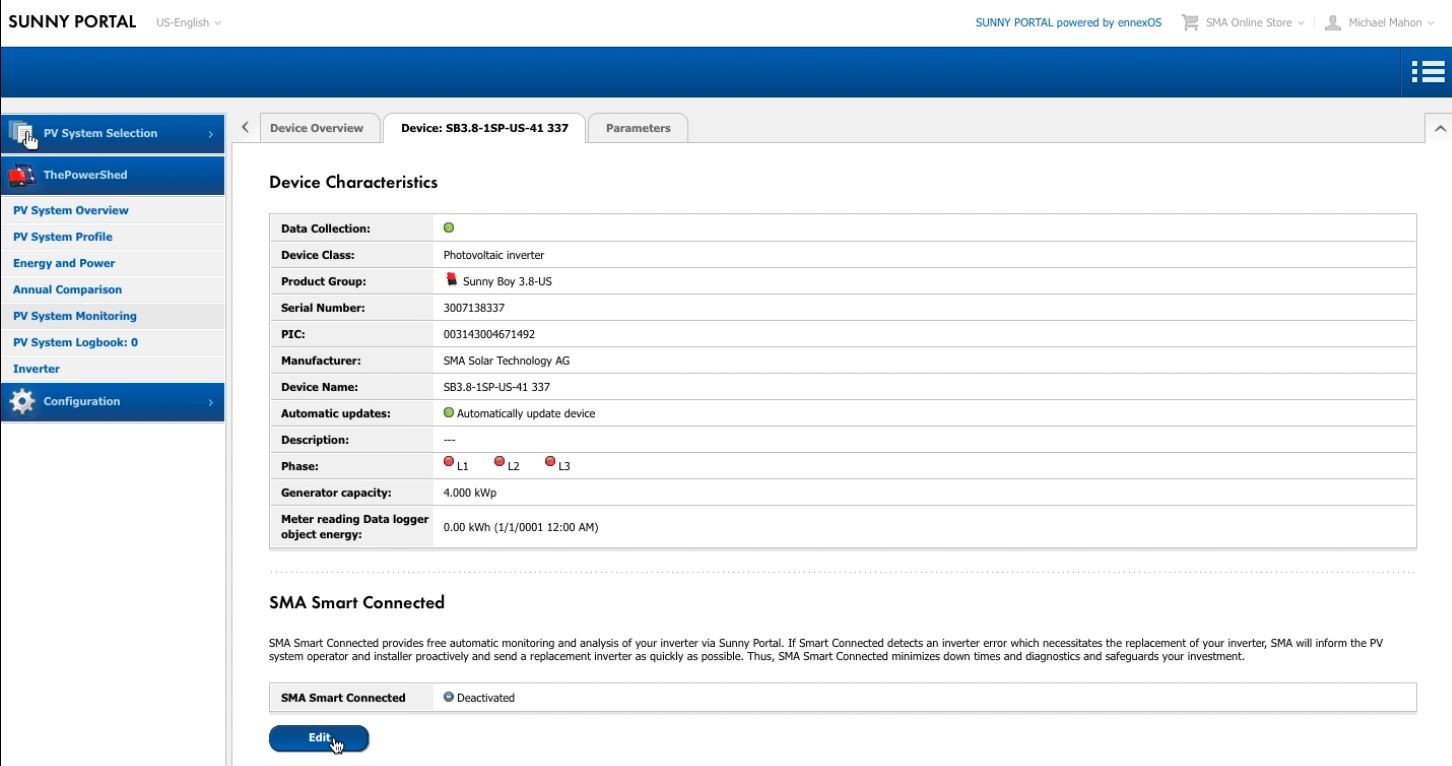
Fig 1b. Select Edit at bottom of SMA Smart Connected section.
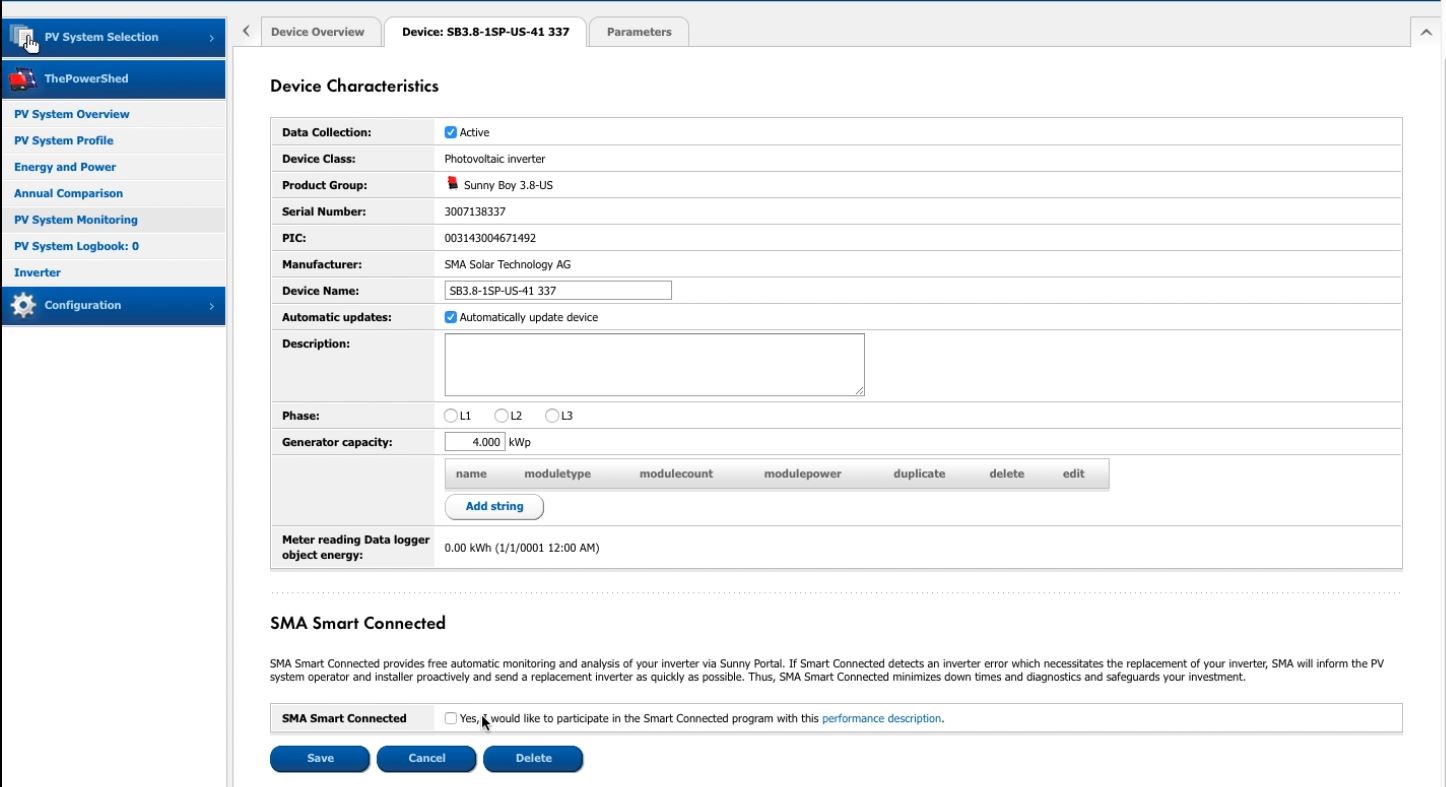
Fig 1c. Select the check box to show the Installer and Operator data fields.
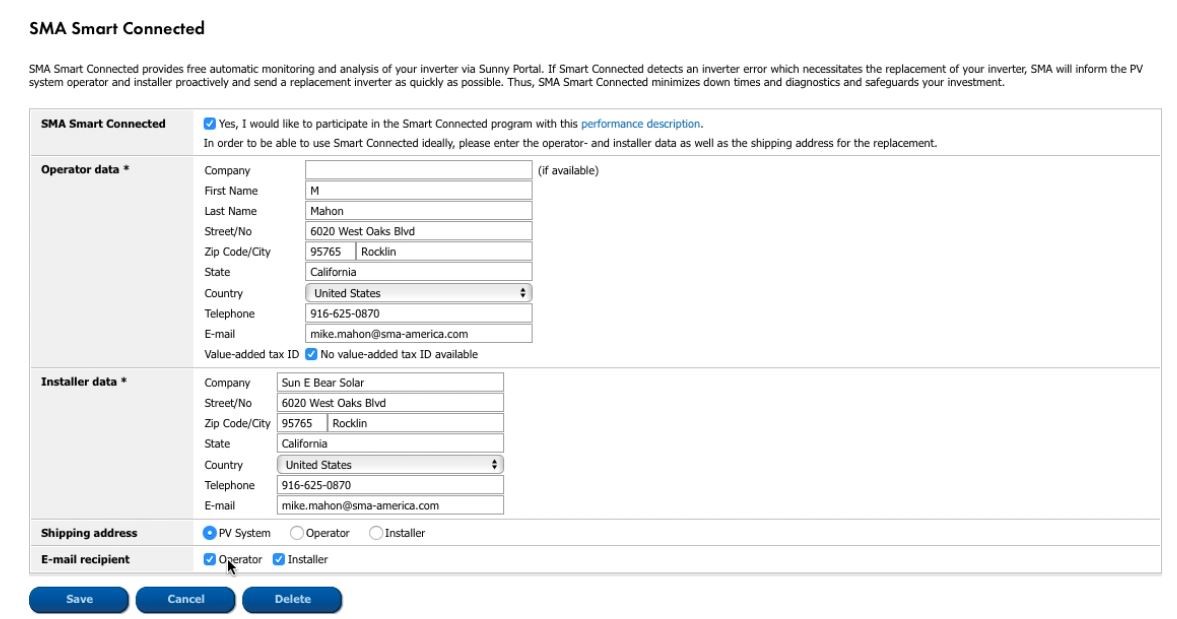
Fig 1d. After filling out all information and selecting emails and address, click Save.
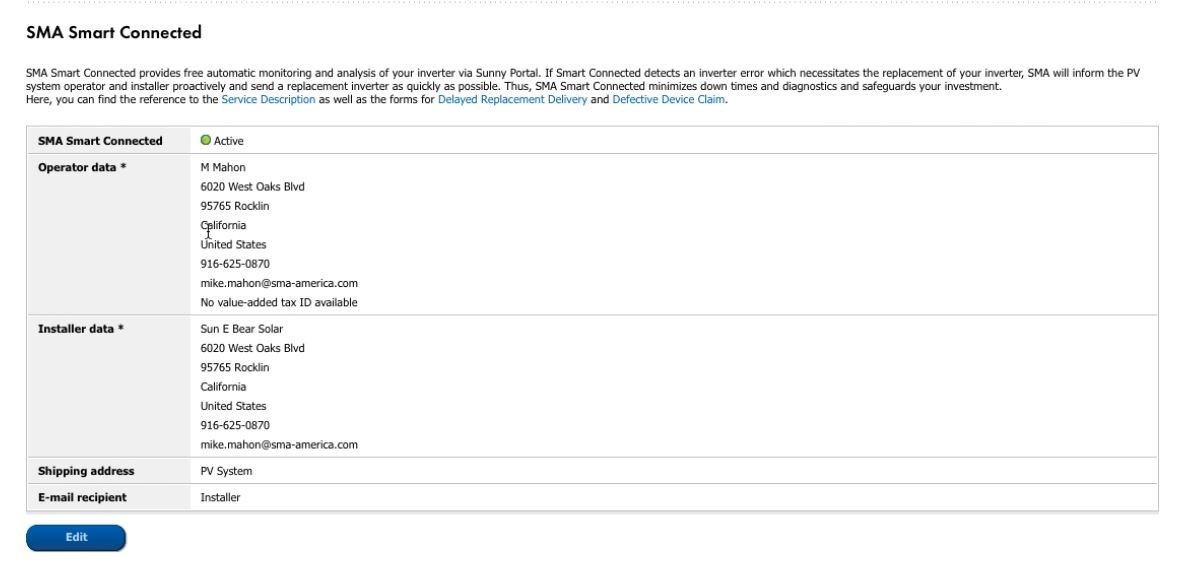
Fig 1e. Congratulations! Your PV plant is now protected by SMA Smart Connected.
For Sunny Portal powered by ennexOS, select the correct plant from your portfolio. On the left, select the Configuration (wheel) icon, and select System Monitoring from the list in the plant column (Fig 2a). Scroll to the bottom of the window that appears. If Operator and Installer information was not entered during plant registration, select Edit Operator and Installer data (Fig 2b) and fill out all required fields (select the checkbox for No value-added tax ID available for North America), selecting Save when done (Fig 2c). Now select Carry out initial configuration (Fig 2d), and select the correct dispatch (shipping) address, select which emails should receive Smart Connected notifications, and most importantly, select the check box at the bottom to activate Smart Connected. Select Save when done to finish the enrollment (Fig 2e). A confirmation that Smart Connected is active will appear (Fig 2f).
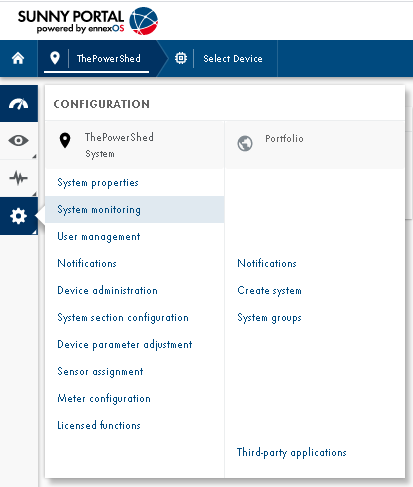
Fig 2a. In the Configuration menu for the plant, choose System Monitoring.
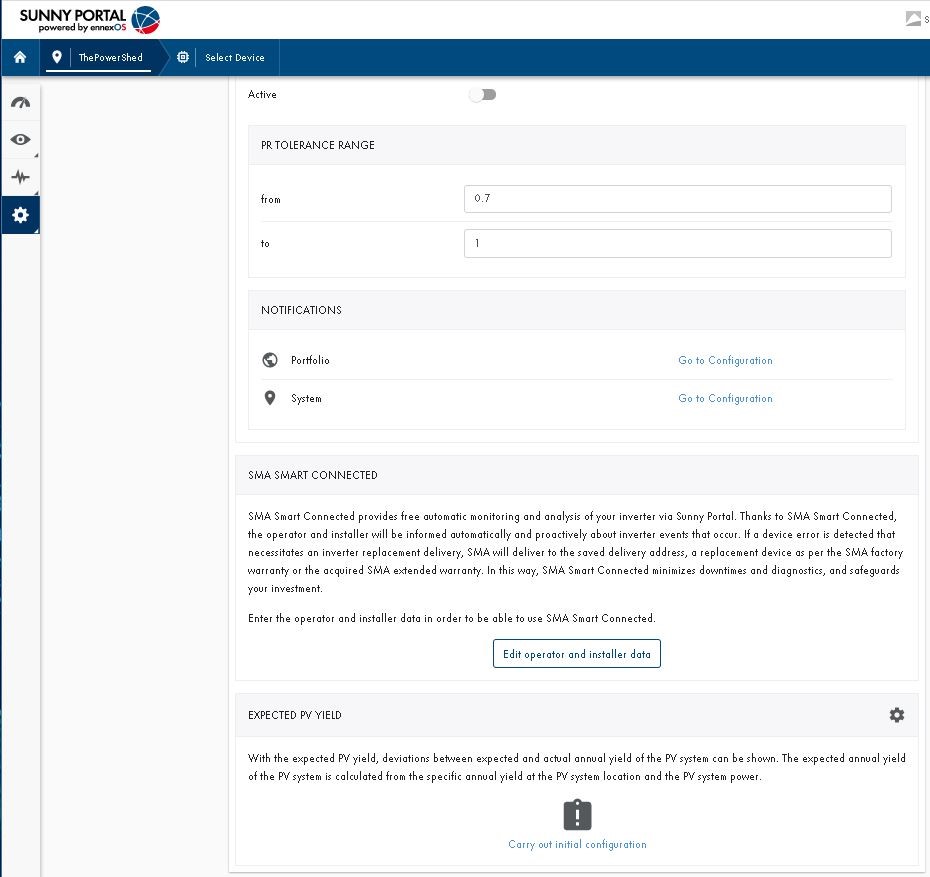
Fig 2b. If needed, select Edit Operator and Installer data.
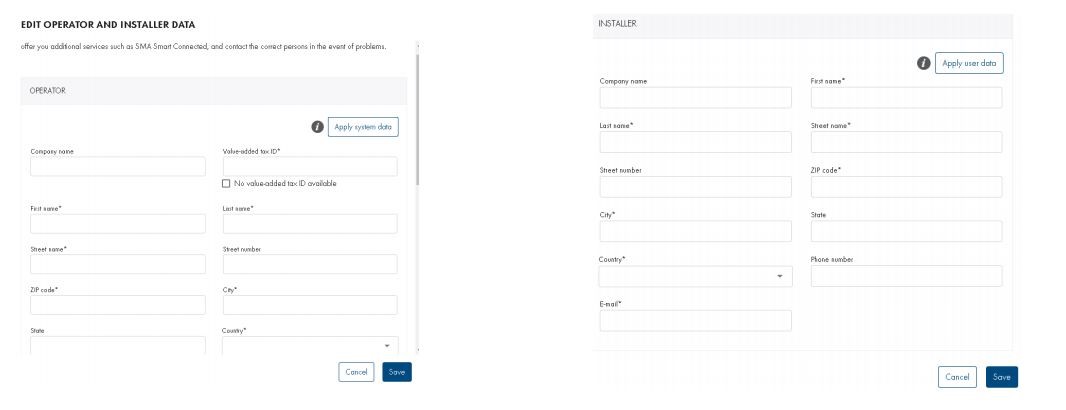
Fig 2c. Fill in all required Operator and Installer information.

Fig 2d. Select Carry out initial configuration.
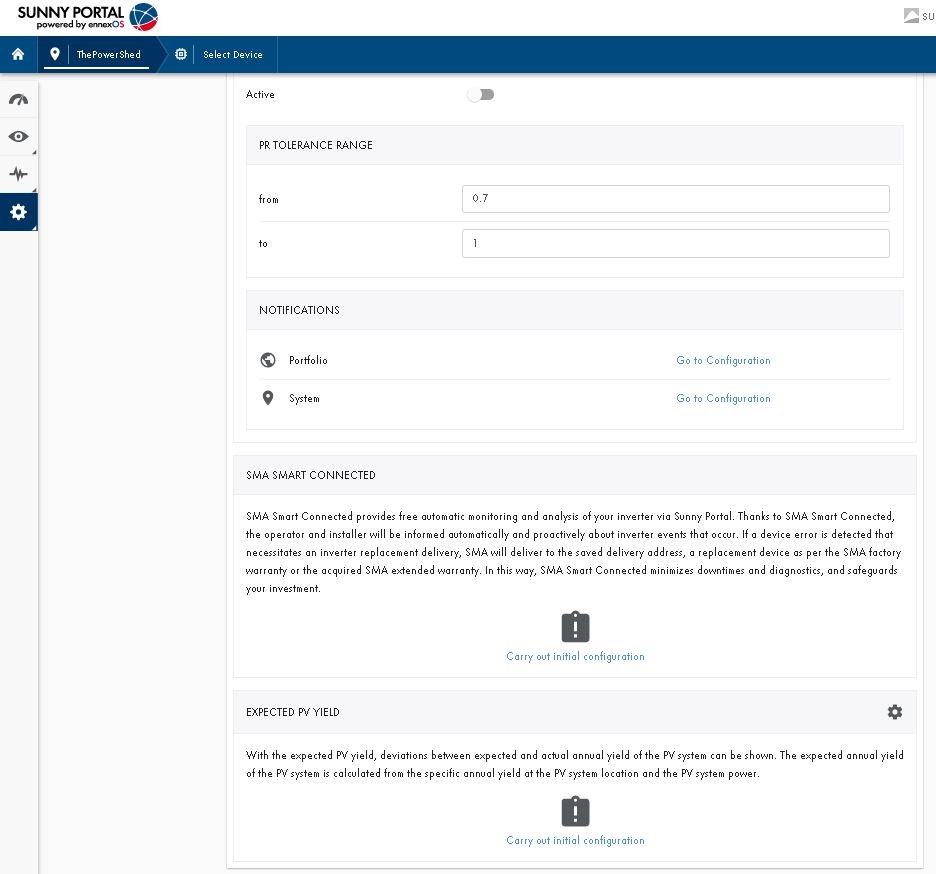
Fig 2e. Select the shipping address, appropriate email addresses, and select the bottom checkbox to enroll.
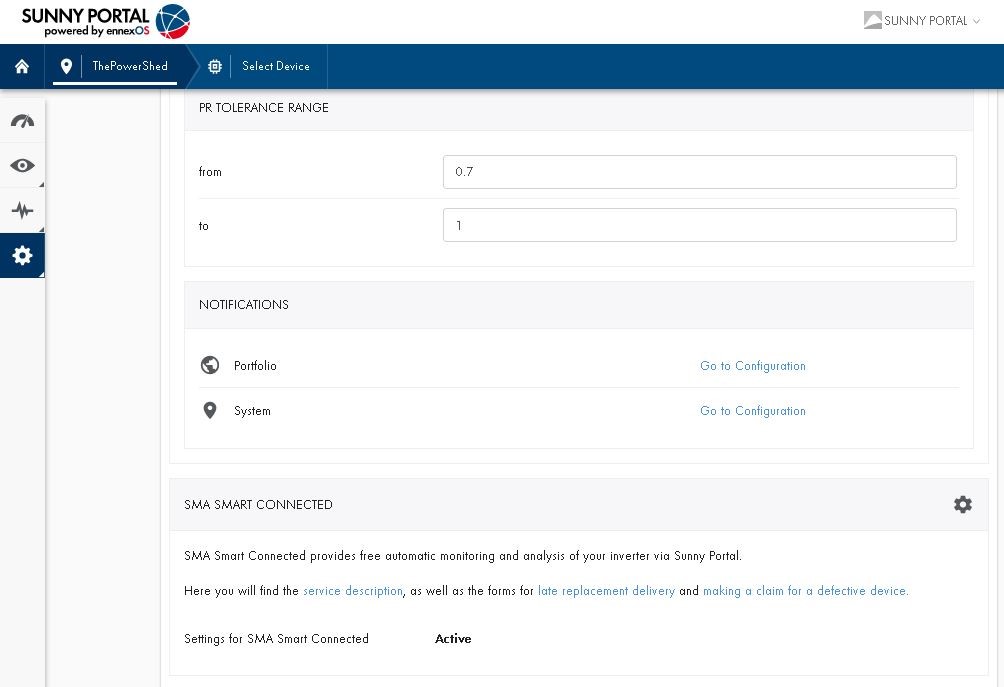
Fig 2f. Congratulations! Your PV plant is now protected by SMA Smart Connected.
Feel free to contribute!